DRY FIRE, DRY FIRE, DRY FIRE

By Robert Jordan

" NOBODY WANTS TO SUCK AT ANYTHING THEY DO "

We all want to be the best at backyard football, Texas hold ’em or 8-Ball at the corner bar. Whether we go to the local range shooting match or down by the railroad tracks, we want to hit what we are aiming at. That skill gives us the ability and confidence to carry our handgun every day to protect ourselves, our families and our homes. We all want to kick ass with our pistol, but very few of us have the time or resources to take class after class at the private academies across the nation. Solution? Read on.


First, if you have the resources, find a class at a reputable training facility and go in like a sponge, ready to absorb what they teach. I’ve been a cop and instructor for more than two decades and I am still learning. I will be gleaning ideas, techniques and wisdom from fellow instructors until the day I die. There is no finish line, and every new technique is a tool in my toolbox that I can pull out and apply when the time comes. But if you are starting out like I did, sharing a one bedroom apartment with two other guys on the poor side of town, you need some cheaper training ideas. Here they are.


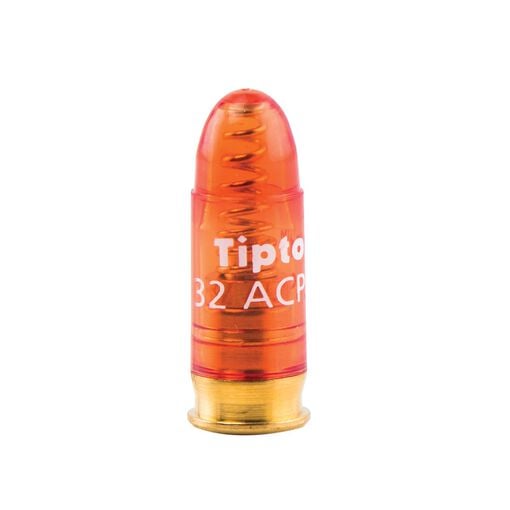
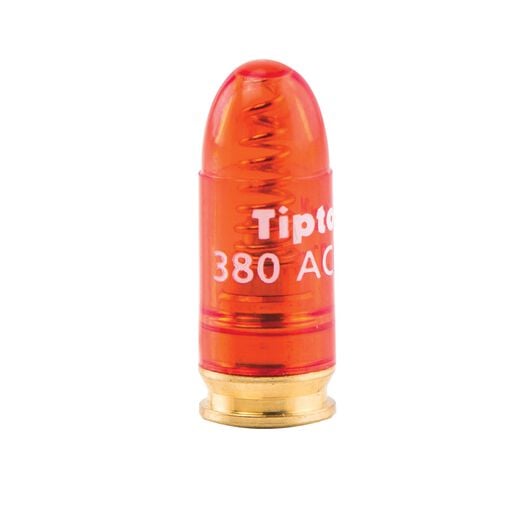
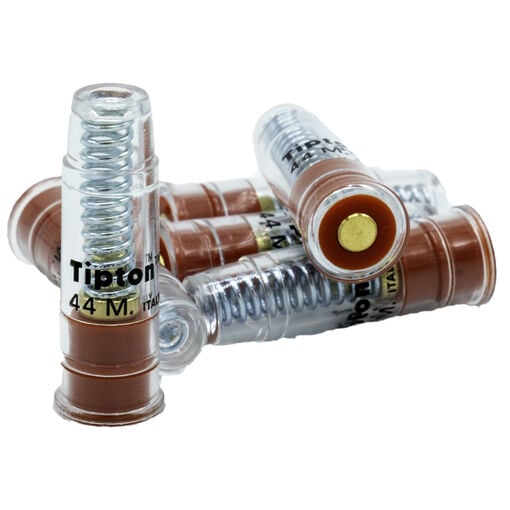
First, you don’t need to go to the range to become a good gun handler or a good shot. Most professional competitors dry fire 10 rounds for every round of live fire. Dry fire teaches good habits. Live fire teaches bad ones like anticipation and looking at your target instead of your front sight. I graduated from my first law enforcement academy as an average shooter at best. I anticipated my shots and I milked the grip. My shots went low and left. Then I started dry firing daily and my scores went from mediocre to nearly perfect in less than a month. That’s no BS.

My first Federal job was with the Border Patrol in 1997. I was issued a Beretta Brigadier 96D .40 double action- only pistol. It was a big gun with a long trigger pull for each shot. When I arrived in San Diego, I had two snap caps, my uniform and zero disposable income. My entertainment was dry firing that pistol and ironing my uniform. My high score at the academy was 326 out of a possible 360. The first time I qualified at my station, I shot a 358. I hadn’t fired a single live round since I left the academy. It was 100 percent from dry firing.

PRACTICE THE RIGHT WAY

Different drills and scenarios abound when practicing dry fire at home, but remember this: Practicing something the wrong way will make you worse, not better. Here is what you need to do.


First, get or borrow a handgun that will fire double action. This means each time you pull the trigger, it goes click. I am a huge fan of striker-fired, polymer-framed handguns, but most of them have to be re-cocked by working the slide after each trigger press. This repetitive re-cocking interrupts your follow-up trigger press. Most of the classic, metal-framed Sig Sauer and Beretta pistols will fire double-action and make great dry-fire training tools. Double-action revolvers also make great dry-fire guns. Revolvers require a slightly different grip, but they are still excellent for practicing a smooth trigger press over and over. The longer, harder and grittier the trigger, the better. If you can master a bad trigger, you will love shooting a lighter, smooth one later on.


The one piece of equipment I highly recommend besides the gun is a few quality snap caps. Firing pins are designed to strike something when the trigger is pulled. A little dry firing won’t hurt a gun (except most .22s, which should not be dry fired), but prolonged dry firing without a snap cap can lead to broken firing pins and other issues. Solid plastic dummy rounds will work for a little while, but snap caps are actually designed to cushion the point of the firing pin. Tipton makes excellent snap caps, and I have used them for so long that I have actually worn a few of them out. The money I saved in gun repairs was money well spent.

Safety first. Remove all ammunition from the gun and then from the room. Lock it up somewhere else. People will dry fire for a while, reload the gun and then forget they reloaded it. They pick up the gun and BOOM. Big mistake. When you are done dry firing, put the gun away. If you reload it and leave it out, you are asking for trouble. Here are the training steps.


First, get a good grip with your strong hand. This means getting up as high as you can on the backstrap. You might even see a roll of skin on top of the web of your hand. This means you are doing it right. Next, with your support hand, take the meaty part at the base of your thumb and place it on the “hole” where the pistol grip is still exposed. Let your support hand fingers roll around the front of the grip. Point your support hand thumb forward, touching the edge of the frame. Grip harder with your support hand than your strong hand.


Next, point the gun at a “target” such as a small dot on the wall. Your front sight should be in crystal clear focus, your rear sight should be a little blurry and your target should be really blurry. If it helps, you can bend your arms and bring the gun closer to your face to focus on the front sight. Then, keep that focus as you extend your arms and push the gun into your target.


Once your sights are aligned with the target, place the center, fattest portion of the pad of your finger onto the trigger. Don’t get sloppy and center the first joint on the trigger. This will “push” your shots toward your support side, especially when you start getting faster. Slowly, smoothly increase pressure on the trigger until you hear and feel it go “click.” The shot should surprise you. Don’t make the gun go off; let the gun go off. If you force the shot, your gun will dip down and your groups will be low.


After the shot breaks, release your finger completely off the trigger and do it again. We used to teach simply letting the trigger go forward until you feel it reset, which is a more subtle click. Most instructors now agree that in rapid-fire, moving your finger completely forward and then restarting your trigger press is faster overall and has less likelihood of short-stroking the trigger press by not letting it move forward enough to reset before starting your next trigger press. We are practicing slow, but we are using the same techniques we will use when we start going fast.

That’s it. Watching your front sight, you should be able to see if it dips or jumps. A little bit of movement while aiming the gun is normal. Typically it looks like a horizontal figure eight but it might just look a little shaky to you. Learn to shoot through this natural body movement. Once you think you are doing well, balance a dime on your front sight and see how many trigger presses you can get before it falls off. When you hit 10 clicks and the dime is still perched, you are getting the hang of it.
 
 
Now you can add some variety. Keep the dime on there and see how many clicks you can get in one minute. Turn on Netflix and practice presenting the gun straight out and shooting the bad guy. Pick the second button down on his shirt and aim for that. Remember, aim small, miss small. By the way, if you pull an Elvis and shoot your TV, I don’t want to hear about it. I explained in detail to lock up the live ammo in another room.
 
 
Finally, it is time to incorporate your everyday carry holster and drawing from concealment. Cover up with a T-shirt, sweatshirt, jacket or whatever you normally wear. Learn how to draw and make accurate, fight-stopping shots, even when you are in a hurry. Remember to start slow and make it smooth. Smooth is fast. Wasted motion is not fast. Do the grip, draw, presentation and trigger press perfectly at a snail’s pace, then slowly increase your speed. Don’t try to rush.


Nobody gets to be good without practicing. Fortunately, practice doesn’t have to be expensive, time-consuming or require going to the range. It can be boiled down to 15 minutes a day of solid concentration and going over the fundamentals. You will see the proof the next time you hit the range.